

STEP 1.
INSIDE SPREAD OF MAIN BEAMS
Measurement is taken at widest point between the main beams (as shown on Scoring Instruction Card) by holding the end of the clip against the inside of one beam & the outside of the neck of the housing against the inside of the other beam. Engage the lock button and insert the tape by pushing it in slowly to take the measurement. Press Step, moving to Circumference. Disengage the lock button.

STEP 2.
Circumference
Put the tape around the antler at desired circumference. Hook the tape into the clip; slide the Rackulator down tight against the antler making sure all the slack is pushed out of the tape with the thumb and fingers. Engage the lock button, slightly pull back the Rackulator, unhook the tape, and insert the tape by pushing it in slowly to take the measurement. Press Sub to move onto the next circumference or press Step to move onto the main beam. Disengage the lock button.

STEP 3.
Main Beam
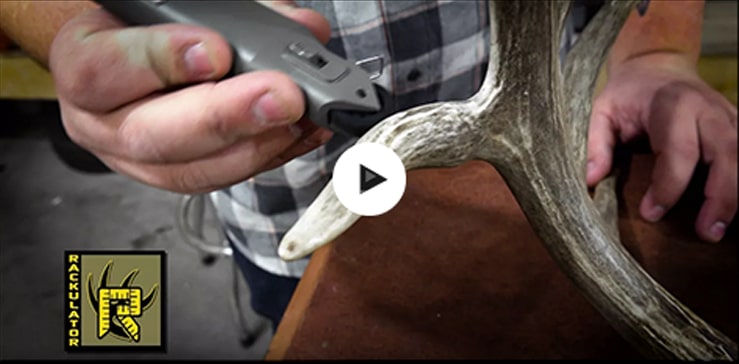
Using the pointer, start at the tip or burr of the main beam. Roll along the center of the beam to the finishing point. Press Step to move onto Tine 1.
STEP 4.
Typical Tine
Using the pointer, start at the tip of the tine and roll down to the end of the tine where it meets the beam. Press Sub to move onto the next tine or press Step to move onto the Non-Typical Tine if necessary.
STEP 5.
Non-Typical Tine
Using the Pointer, start at the tip of the Non-Typical tine & roll along the tine to the end mark. Continue until all Non-Typical Tines are done. Press Sub to move onto the next Non–Typical Tine. Select Step to move onto the next side. Press Score if scoring is completed.

On a mounted head, the ears may be in a position that the main beam cannot be measured with the wheel. In this case you can use the electronic tape. The hinge at the end of the tape should be held at the burr.

Run the tape along the middle of the main beam to the tip, putting the Rackulator where the tape exits against the tip .

Engage the lock button and insert the tape by pushing it in slowly to take the measurement. Press Step and disengage the lock button. This same procedure may be used on some Non-Typical Tines that cannot be done with the wheel.
You can also measure any tines or beams by using as a regular tape measure and then roll that figure into the Rackulator. Roll the wheel on your hand or other surface and press the desired button.
